Quiz

French assembly instructions quiz: parts, order and warnings

Read a French shelving-unit assembly notice, then answer twelve questions on parts, pronoun references, sequence and safety warnings.

In short

In assembly instructions, follow the numbered steps and track exactly what each pronoun replaces. Avant de, sans and ne… que tell you when an action is allowed and what to avoid.

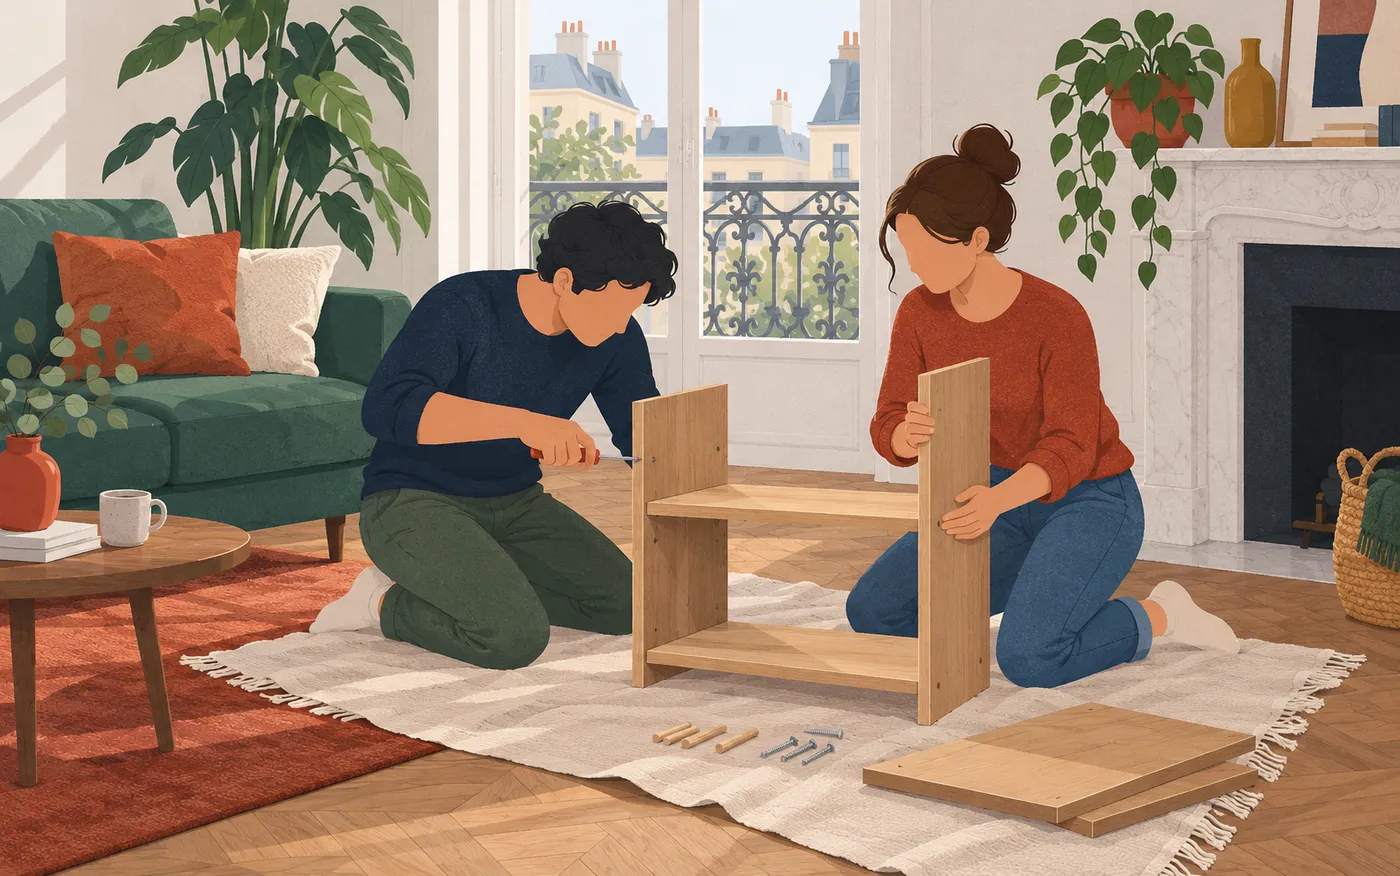
Two people assembling a wooden shelving unit together.
The pair follow the assembly sequence for une étagère. Illustration: Atelier

Identify the parts before reading

Étagère Alba — notice de montage

Avant de commencer

Contenu : deux panneaux latéraux A, deux tablettes B, un panneau de fond C, huit tourillons D et huit vis courtes E. Prévoyez un tournevis manuel. Travaillez à deux, sur une couverture. N’utilisez pas de visseuse électrique. Si une pièce manque ou présente une fissure, interrompez le montage et contactez le service après-vente.

Étapes 1 à 3

1. Posez les deux panneaux A à plat, les trous vers le haut. Insérez deux tourillons D dans chaque extrémité de chacune des deux tablettes B. Ne mettez pas de colle.

2. Emboîtez1 les tablettes B dans le premier panneau A, puis posez le second panneau A sur leurs extrémités libres. Maintenez-le pendant que l’autre personne engage les vis E à la main. Ne les serrez pas encore complètement.

3. Faites glisser le panneau C dans les rainures à l’arrière du meuble. Vérifiez qu’il est enfoncé jusqu’en bas, puis serrez complètement les huit vis E.

Étape 4 et avertissements

4. À deux, relevez l’étagère. Avant d’y poser des objets, fixez-la au mur avec un dispositif antibasculement adapté au support, vendu séparément. Choisissez les fixations selon la nature du mur. Ne chargez chaque tablette qu’une fois cette fixation terminée. Charge maximale : 8 kg par tablette. Ne montez jamais sur le meuble.

Read it in English

Before starting: the pack contains two side panels A, two shelves B, one back panel C, eight dowels D and eight short screws E. Use a manual screwdriver. Two people should work on a blanket. Avoid an electric screwdriver. Stop and contact after-sales service if a part is missing or cracked.

1. Lay A flat with the holes upwards. Insert two dowels into each end of each shelf B. Add no glue. 2. Fit B into the first A, then place the second A over their free ends. Hold that panel while the other person starts the screws by hand. Leave them partly loose. 3. Slide C into the rear grooves, check it reaches the bottom, then fully tighten the eight screws.

4. Two people lift the unit upright. Before adding objects, secure it to the wall with an anti-tip device suitable for the wall material, sold separately. Load shelves only after fixing it. Maximum load: 8 kg per shelf. Never climb on the unit.

  1. Question 1No account needed
    A panel is cracked. What comes next?

    Choose one answer.

    Answer and explanation

    Arrêtez le montage et contactez le service après-vente.. The opening warning says to stop if a part has a crack. Repairing it yourself is not an instruction in this notice.

  2. Question 2No account needed
    Which surface of A faces upwards in step 1?

    Choose one answer.

    Answer and explanation

    La face avec les trous.. Step 1 explicitly places the holes upwards, so the parts remain ready for fitting.

  3. Question 3No account needed
    How many dowels go into each shelf B altogether?

    Choose one answer.

    Answer and explanation

    Quatre.. Each shelf has two ends, with two dowels at each end: four per shelf and eight for both shelves.

  4. Question 4No account needed
    After inserting the dowels, what should you add?

    Choose one answer.

    Answer and explanation

    Rien : passez à l’emboîtement.. The notice says to use no glue. The next numbered action is fitting the shelves into the first side panel.

  5. Question 5No account needed
    What does the pronoun refer to?Maintenez-le pendant que l’autre personne engage les vis.

    Choose one answer.

    Answer and explanation

    Le second panneau A.. The nearest relevant masculine singular object is the second side panel, just placed over the free shelf ends.

  6. Question 6No account needed
    The screws have been started by hand. What comes next?

    Choose one answer.

    Answer and explanation

    Faire glisser le panneau C.. Step 2 leaves the screws partly loose; step 3 inserts the back before final tightening.

  7. Question 7No account needed
    What does the pronoun replace?Ne les serrez pas encore complètement.

    Choose one answer.

    Answer and explanation

    Les vis E.. Only the screws are tightened here. The plural pronoun points back to the screws mentioned in the preceding sentence.

  8. Question 8No account needed
    Before fully tightening the screws, check that…

    Choose one answer.

    Answer and explanation

    le panneau C est enfoncé jusqu’en bas.. The check in step 3 concerns the back panel reaching the bottom of its grooves.

  9. Question 9No account needed
    The eight screws are fully tightened. Choose the next numbered action.

    Choose one answer.

    Answer and explanation

    Relever l’étagère à deux.. Step 4 starts by lifting the unit upright together. Loading comes after wall fixing.

  10. Question 10No account needed
    Which item must be obtained separately?

    Choose one answer.

    Answer and explanation

    Le dispositif antibasculement.. The anti-tip device is described as sold separately; screws and dowels are in the contents list.

  11. Question 11No account needed
    When may you put objects on the shelves?

    Choose one answer.

    Answer and explanation

    Après la fixation au mur.. Both the warning before adding objects and the restrictive phrase in the last paragraph make wall fixing a prior condition.

  12. Question 12No account needed
    Which loading plan follows the notice?

    Choose one answer.

    Answer and explanation

    7 kg sur chaque tablette après la fixation murale.. The maximum applies to each shelf separately. Seven kilograms on each stays below both individual limits.